
When you want to blend in with your terrain, you can purchase camouflage BDUs, hats, boots, and many other fabrics. However, when you purchase firearms, holsters, or other hard surface items, they are typically in a single color. Painting over these items with camouflage spray point is a necessity, but there’s a huge psychological barrier preventing most from doing it…they feel as if they are going to ruin their gear.
If you want to paint your gear, the expensive option is to buy a firearm specific coating like Duracoat. The cost of this paint paired up with a painting service can run you up to $400+ per weapon system. In today’s economy, this is really not practical for the common-man. The other option is to buy on-the-shelf camouflaging options like Rust-oleum Camo paint. This paint comes in a variety of woodland colors, and is flat (no shine).

My experience with painting items with spray paint has always been poor. It never seems to have the durability of professional paints that are baked on. However, is the durability really necessary for our purpose? No it is not. Quite frankly, the more abrasion the paint incurs over time, the better the pattern will become. If it ever becomes so worn that the pattern does not satisfy its purpose, you can always apply another coat.
Another fault of spray paint is that it is sometimes sticky even after the recommend curing time on the bottle. With this particular brand of Rust-oleum, I have not noticed a sticky-ness.
How should you start?
To get over the mental hurdle of painting your gear, start out with the cheapest items you have. For me, I started out with some 5.56 and 7.62 magazines. These are anywhere from $15-20, and is hardly a huge loss if you really screw up. As you get comfortable with how you paint, and how the paint looks, you can progress to more expensive items such as holsters, scopes, and eventually firearms. One thing to note is that if you ever intend on re-selling the items, it’s best to not paint at all as you’ll probably reduce the resale value significantly (unless you have a professional paint).
How to paint?
I only bought four colors of paint – Beige, olive drab, dark brown, and black. Depending on the base color of the item I was painting, I would exclude one of the colors and use the backdrop as part of the coloring scheme. I got an old piece of window bug screen, and glued a couple pieces of cardboard that I cut in various shapes. Simply hold this 5-10 inches away from the object and spray in all different directions. Don’t try to make this like artwork…you’re simply breaking up the existing pattern. The bug screen offers another layer of pattern break up in addition to the card board, so I highly recommend it. Additionally, I used a piece of red clover I found in the yard an spray painted over this as well in some places. I personally loved the end product.

What about fabrics?
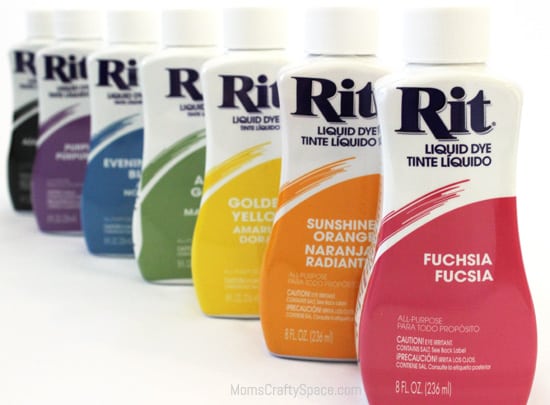
Although there are some videos out there where they spray paint their fabrics, I personally don’t like the outcome or the feel of painted fabric. Rather, you should use RIT Fabric Dye. There are also some videos on using RIT dye for camo’s, but I haven’t had much success following them. The videos talk about putting dye in a boiling pot of water, and boiling the entire garment. This results in a less than ideal color pattern. My approach will be a little different and will write a future article on the results.
Next steps?
I’ll be moving up the chain painting some cheap scopes, then a cheap plain jane shotgun, and finally one of my rifles. Look forward to my next articles and the end product. If you want to learn more about camouflaging various types of gear, this video is a great overview:
***Update for Part 2 – Camouflage of my Mossberg 500 shotgun

